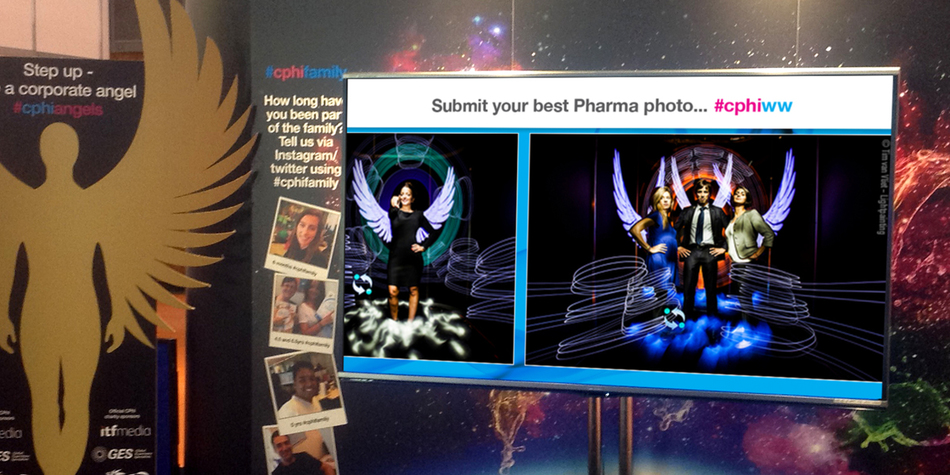
Jazz up your event with a NowSignage screencast that creates a conversation with a captive audience with social signage.
Are you looking for a powerful and user-friendly digital display software? Look no further than NowSignage. This innovative platform allows you to easily create and manage digital displays for your business. In this step-by-step screencast guide, we will walk you through the process of mastering NowSignage and creating stunning digital displays for your business.
Getting Started
To begin, you will need to sign up for a NowSignage account. Simply go to the NowSignage website and click on the “Sign Up” button. You will then be prompted to enter your email address and create a password. Once you have completed this step, you will be taken to your NowSignage dashboard.
Creating a Playlist
The first step in creating a digital display is to create a playlist. This is where you will add all of the content that you want to display on your screens. To create a playlist, click on the “Playlists” tab on your dashboard and then click on the “Create Playlist” button. Give your playlist a name and click “Save.” You can then add content to your playlist by clicking on the “Add Content” button.
Adding Content
NowSignage allows you to add a variety of content to your playlists, including images, videos, web pages, and social media feeds. To add content, simply click on the “Add Content” button and select the type of content you want to add. You can then upload your content or enter the URL for web pages and social media feeds.
Scheduling Content
One of the great features of NowSignage is the ability to schedule your content. This allows you to have different content displayed at different times of the day. To schedule content, click on the “Schedule” button next to the content you want to schedule. You can then select the days and times you want the content to be displayed.
Creating a Screencast
NowSignage also allows you to create custom layouts for your digital displays. This is useful if you want to display multiple pieces of content on one screen. To create a layout, click on the “Layouts” tab on your dashboard and then click on the “Create Layout” button. You can then add content to your layout by dragging and dropping it onto the screen.
Publishing Your Playlist
Once you have created your playlist and scheduled your content, it’s time to publish it to your screens. To do this, click on the “Publish” button next to your playlist. You will then be prompted to select the screens you want to publish to. Once you have selected your screencast, click “Publish” and your playlist will be displayed on your screens.
Conclusion
NowSignage is a powerful and user-friendly digital display software that can help take your business to the next level. By following this step-by-step screencast guide, you can easily create and manage stunning digital displays for your business. Have you tried NowSignage? Let us know in the comments below.
Screen Casts are a means of getting social content onto the screens; as well as a fantastic way to implement interaction & engagement within your audience.
You can easily gain feedback from the audience and introduce a revenue stream with the broadcasting of videos and ads!
